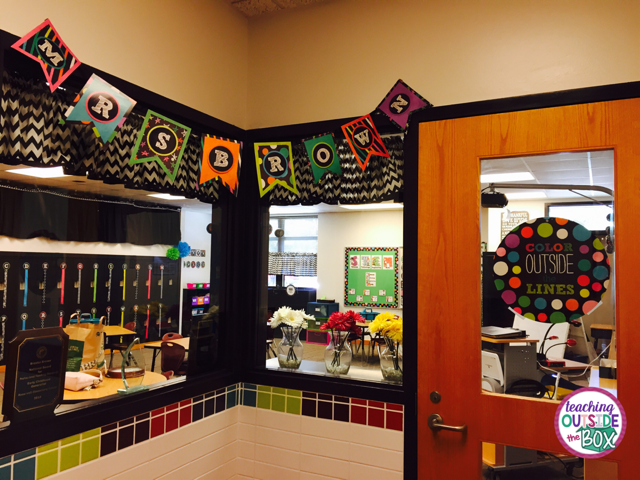
It’s FINALLY finished and it feels fabulous! Tons of black + brights = one HAPPY classroom!
It’s been three long years since I’ve redecorated my classroom or even changed my theme, and I’d truly forgotten how fun (and exhausting) it can be. I moved classrooms, so it was the perfect time to clean out, purge, reorganize and start fresh, and I’m thrilled with the way it turned out. Hope you love it too! Many of the design elements shown are from the
“Chalk Talk” decor collection from Mardel.
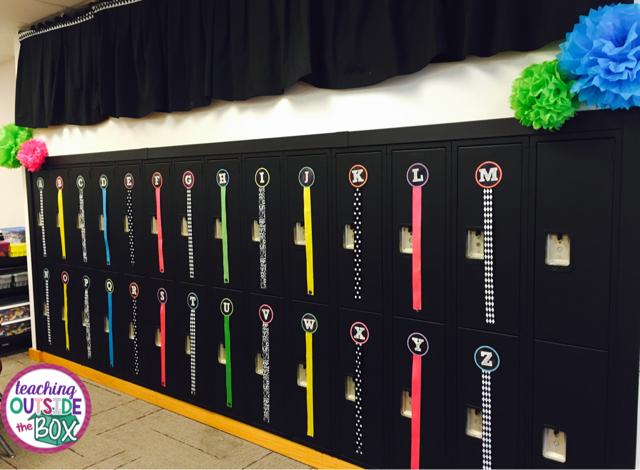
Let’s start with my favorite focal point: My Word Wall! I have to give my superhero dad TONS of credit for this. He spent an entire day helping me paint these old lockers black, and it literally changed the entire look of my new classroom. Little did he know that 12 years into teaching, I’d still need his help to move furniture, paint, hang certificates, you name it! Don’t know what I would do without him.
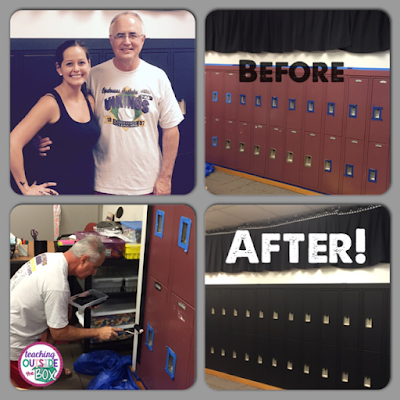
Since I am a specialty teacher, my lockers aren’t needed by the students, which is why I decided to make best use out of the space by creating a Word Wall! I used ribbon and magnets to secure the bottoms, and the words will have magnet buttons on the back to stick on top of the ribbons. I use my Word Wall for academic vocabulary for my Gifted and Talented, Math Enrichment, and Book Club classes, with each type of class having a different color of word card to refer to. It might be my very favorite part of my classroom! (By the way, all the curtains shown in my room were sewn by my teacher friend, Lexie’s, sweet momma. She’s a bit of a drapery goddess around these parts!)
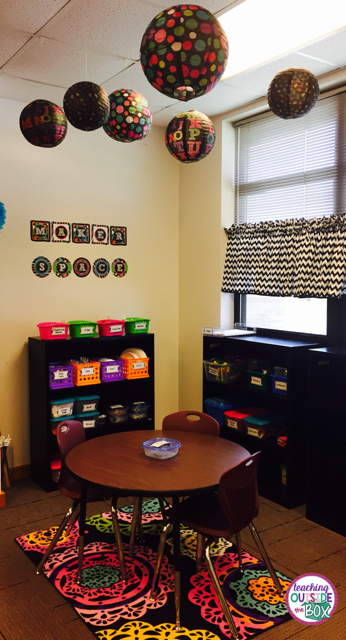
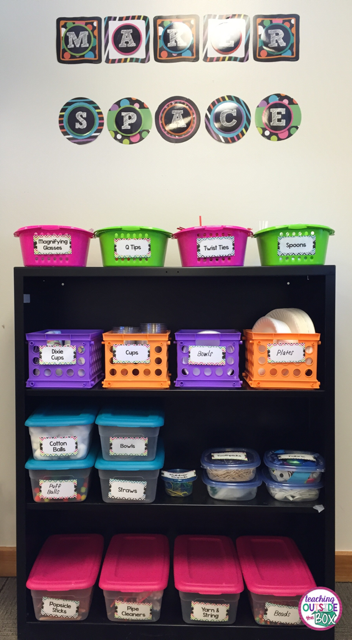
My next favorite part of my classroom is my brand new “Maker Space,” which is a creative design and engineering area for my little ones. I’ve stocked it with tons of supplies and fantastic
“STEM Sparks” task cards from Get Caught Engineering. I’m so excited for my little engineers to put this space to good use!
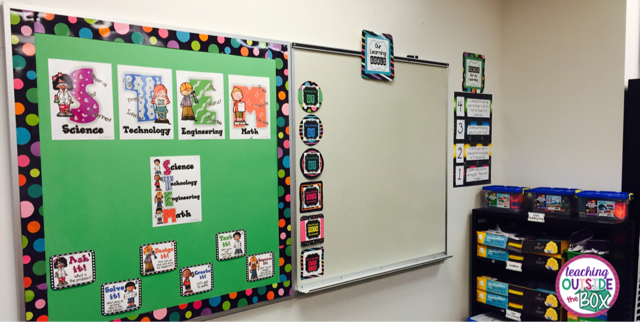
Next up are my bulletin boards! I chose to feature the STEM processes, 8 multiple intelligences, and Critical Thinking Critters from the Primary Education Thinking Skills (PETS) program.
This wall is also where I’ll write our weekly learning goals for each class, with our scale for learning displayed on the right side. The bookshelf is stocked with engineering materials such as Goldiblox kits, Keva planks, and fairy tale STEM kits from Lakeshore Learning Store.
>>>CLICK HERE TO PURCHASE THE STEM/STEAM POSTERS SHOWN ABOVE!<<<
We do a lot of activities to explore multiple intelligences at the beginning of the school year and refer to them often as we discuss critical thinking skills. These posters are found in my store, as well as upper grade versions and a package of multiple intelligences activities.
Next, because I just can’t wait any longer, here is a peek at TWO DIY projects that I squeezed in last minute, thanks to a staple gun, safety pins, and Pinterest! I mean, is that fabric from Hobby Lobby not to DIE for? I just couldn’t resist! Plus my dad came to the rescue again and helped me take the office chair apart so I could recover it.
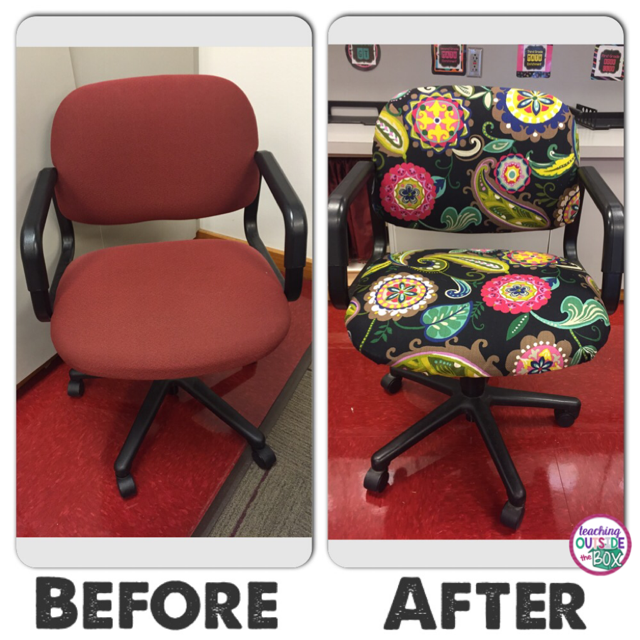
Interested in how to recover your office chair? It only took my dad and me around an hour!
Here’s the rundown:
You’ll need about 2 yards of fabric, a staple gun, safety pins or straight pins, and tools to take the screws out of your chair.
1) Unscrew the back of the chair to remove from the frame. Mine also had a plastic cover that I pulled off, which was great because it hid the edges of the fabric.
2) Wrap your fabric around the seat back and use a staple gun to staple it around.
3) Put the cover back on and reattach to the chair.
4) Detach the bottom of the chair. I didn’t have to take off the chair legs because I could get to the seat without taking it off.
5) Wrap the fabric around the bottom and either staple or use safety pins or straight pins to pin it around. I just used pins because it was easier than disassembling the whole chair and NO ONE sees the underneath part anyway!
6) Reassemble the bottom of the chair.
THAT’S IT!!! Makes me wish I actually sat down more during the school day, right?!
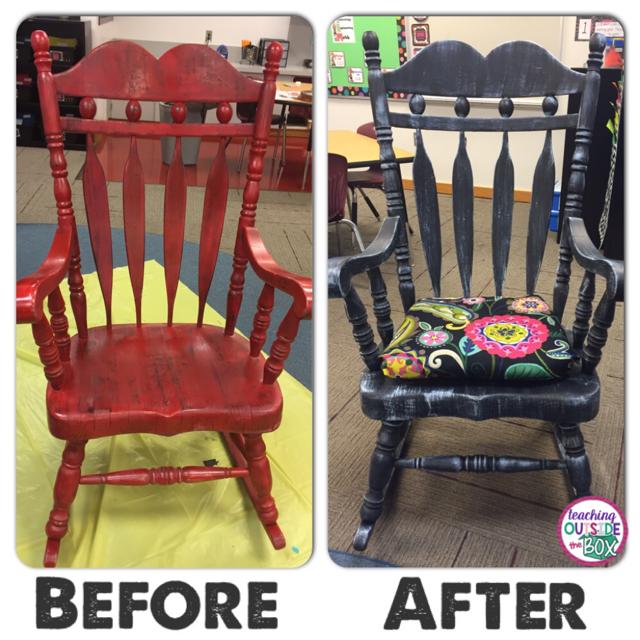
This rocking chair is actually a family antique that I’ve had in my classroom since my second year of teaching! I painted it red way back then and dry brushed it with black. I decided to repaint it with the same flat black as my lockers and then dry brushed it with white. I made the cushion by literally wrapping and old cushion with fabric and safety pinning underneath! LOVE how it turned out!
Here is a shot of my cabinets that back up to the hallway. This is where my students turn in classwork and where I keep basic supplies. By the way, if you have some extra space, throw together some tissue paper flowers and fill it up! You can make them yourself or buy them at any party store. I bought these in packs of three at Hobby Lobby. These darling posters are found in
Kaitlynn Albani’s TpT Store.
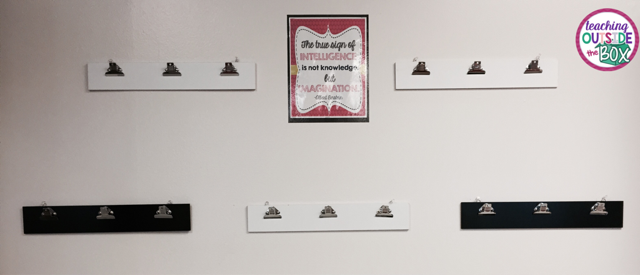
Also along that same wall, I have a spot to display student work from one of the grade levels that I serve. I scored these “clip strips” from the Target Dollar Shop earlier this summer and was like a crazy person digging for every last one that they had!
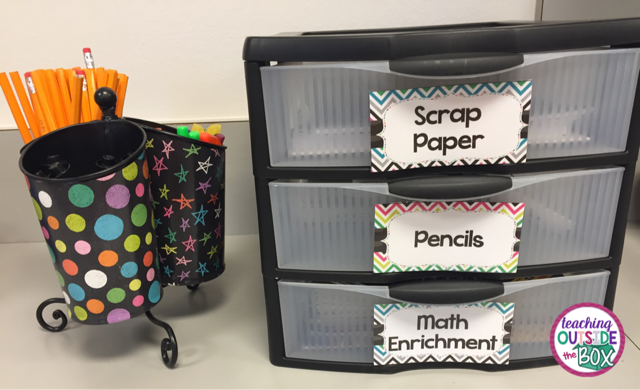
I store my copies and materials for the week in these boxes, labeled with my different pull-out groups.
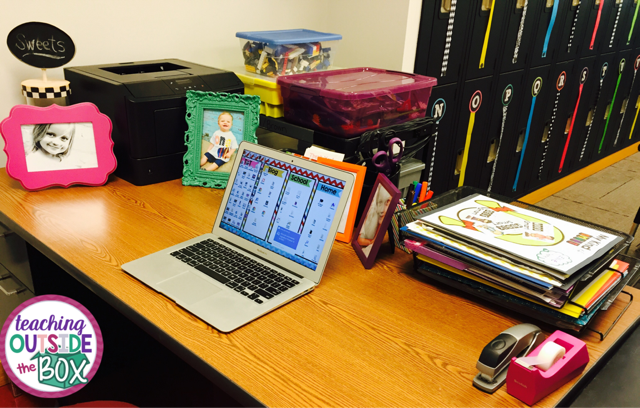
And here is my teacher desk! Filled with photos of my loves, of course!
Here is where my students find their folders for their class. We actually don’t use them as often as I’d like, but it’s helpful when we have activities that stretch across several weeks.
And a couple more storage areas!

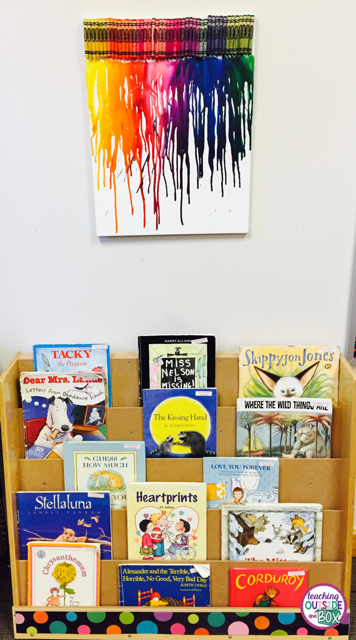
These themed books are primarily used by my first grade Book Club, which is why an entire classroom library is no longer needed in my classroom. I start the year by displaying all my favorites and classics! The crayon artwork on top was a gift from one of my very favorite former students. I was blessed to have her for first grade and second grade!
And the final touch! These precious marquee letters are sold at Hobby Lobby, and you can dress them up however you’d like. I mean, who doesn’t want their name in lights?!

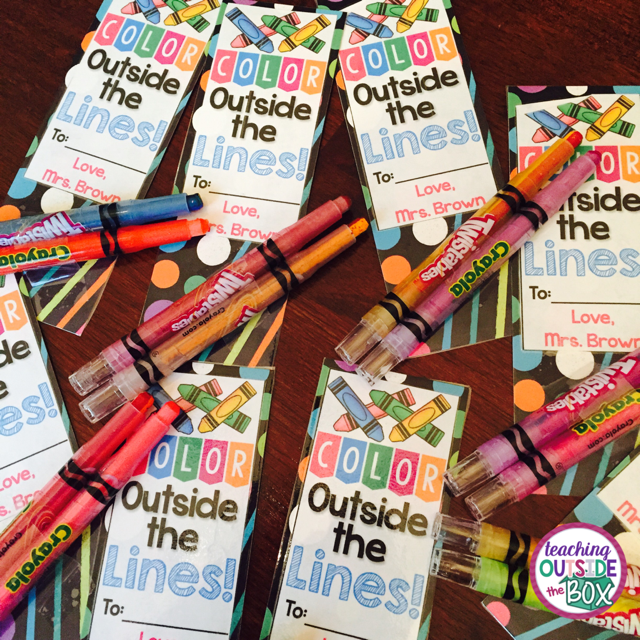
I’m planning to welcome my former gifted and talented students that I get to “loop” with with these bookmarks and color effects crayons on Back to School Night. Love the message to “Color Outside the Lines” because it’s very much appropriate for my little critical thinkers!
I purchased these colored bookmarks from Mardel, but I added my own templates on top.
Thank you for letting me share my new learning space with you! If you enjoyed this classroom reveal, make sure to check out my
“Bright Ideas Classroom Reveal,” which offers more exciting classroom inspiration! Have a HAPPY and wonderful Back to School!
