Welcome to my Makerspace
Are you interested in starting a classroom or school Makerspace OR maybe want to learn more about how Makerspaces work? You’ve come to the right place! I have been running a K-2nd Grade Makerspace in my classroom for almost ten years, and the positive impacts on our students have been truly immeasurable!
I’ll start with some Makerspace basics, and then give you an up close look at my current Makerspace components and how they work!
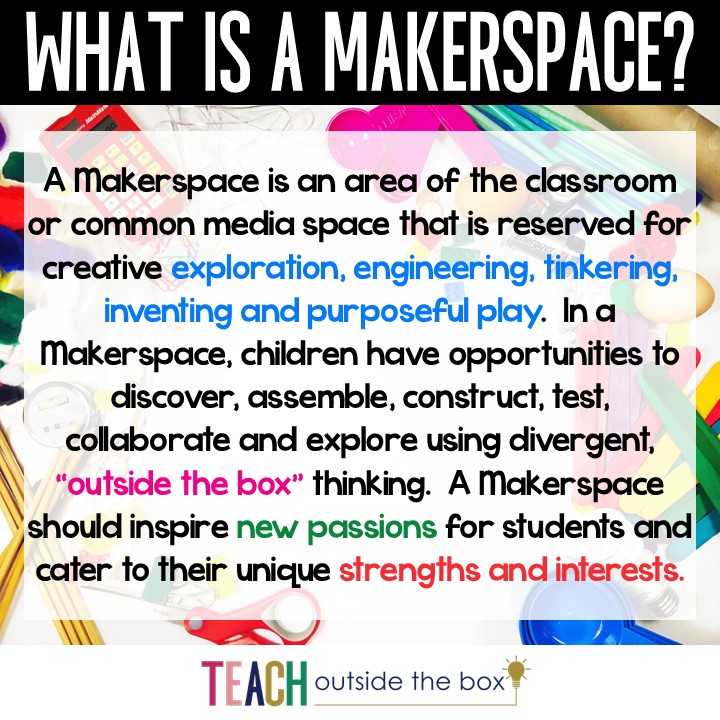
What is a Makerspace?
Makerspaces incorporate engineering materials, crafting supplies, technology, robotics, and more. They may also incorporate 3D printers, laser cutters, and more advanced technology devices. A Makerspace can be used during whole class STEM projects, incorporated as a center or small group rotation within a regular classroom, or accessed during unstructured creative time with STEM Bins, Maker Mats, or Maker Stations. You may choose to limit materials or assign specific tasks to students. You may also choose to allow time for more free range exploration and inventing. The possibilities are endless!
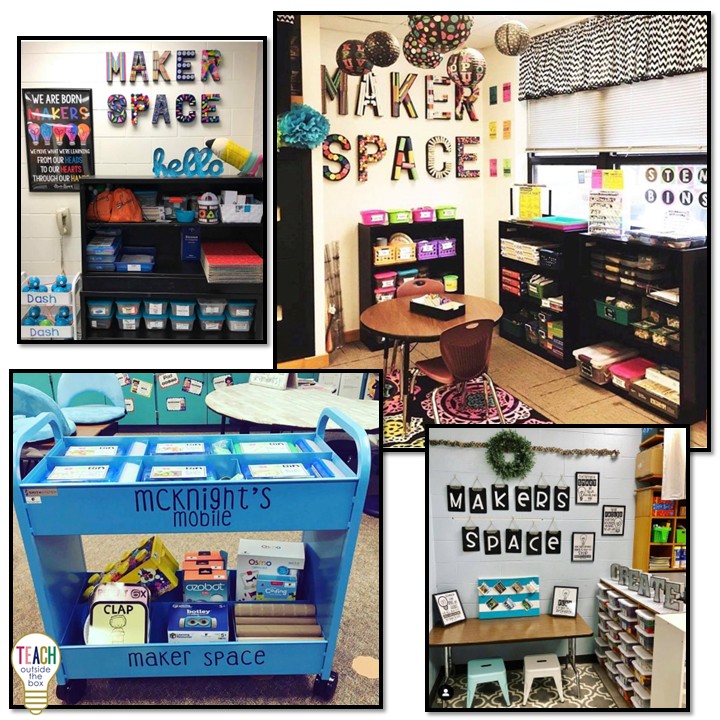
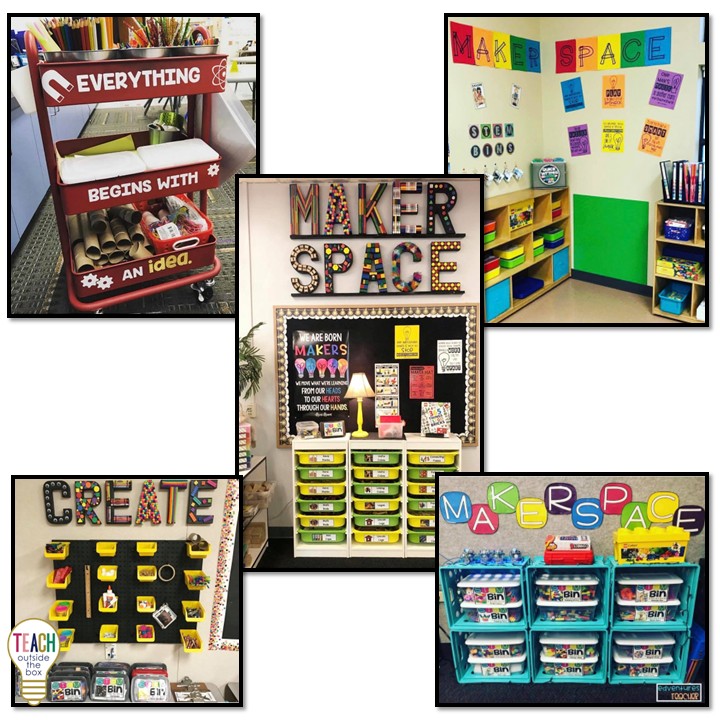
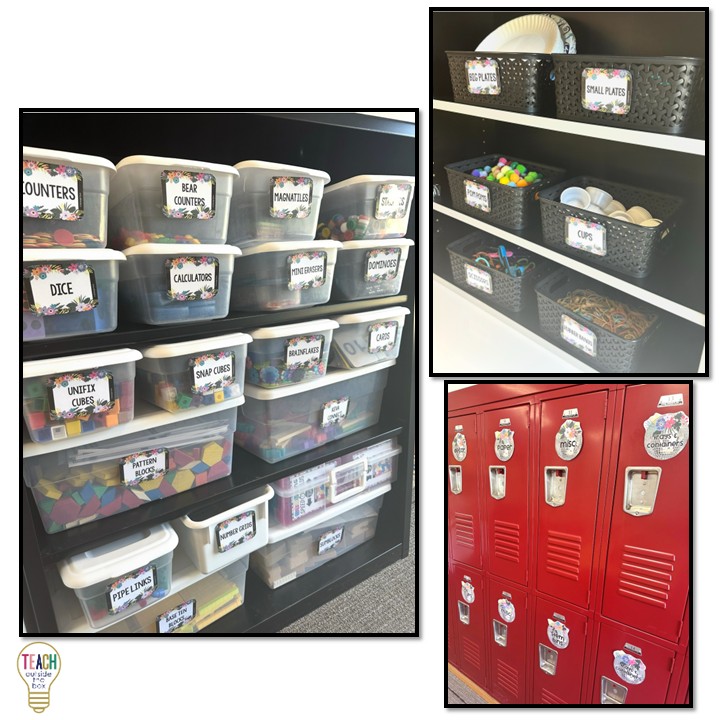
A Makerspace can be located in an entire classroom, section of a classroom, a bookcase, or even a mobile rolling cart. Supplies should be clearly labeled on containers and baskets, and materials should be safe and developmentally appropriate for the ages and abilities of students that you teach. Supplies can be rotated in and out as you see they are needed.
Here are just a few examples of different styles of Makerspaces:
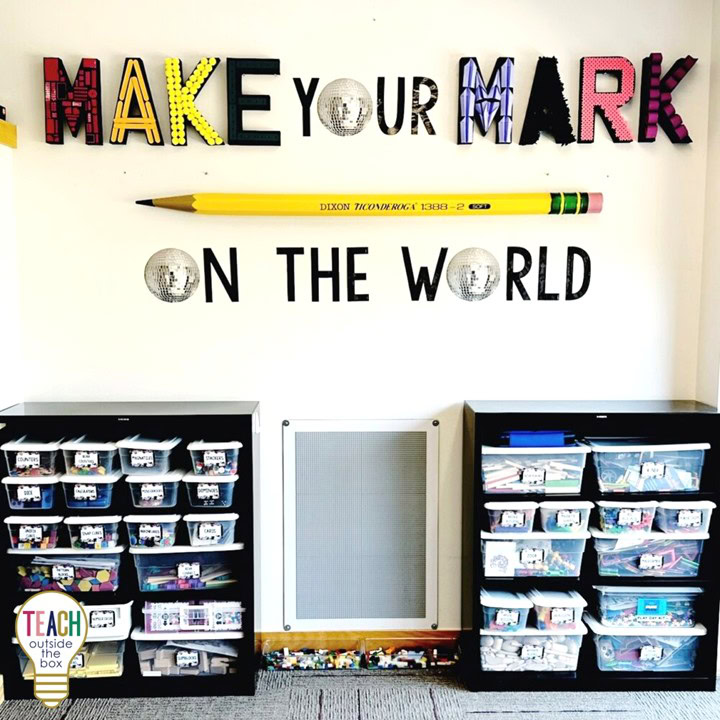
The photos below are from my current classroom. The LEGO wall is a class favorite and is found in several sizes HERE. The large bins and small bins are filled with a variety of engineering materials and math manipulatives that we use regularly. They are very sturdy and have lasted me many years.
Although it may take time to achieve a well-stocked Makerspace, many of the supplies you will acquire can be used over and over again. The first place you should search for possible Makerspace supplies are your own classroom cabinets and supply closets If it is permitted, ask families for donations and keep your eye out for engineering treasures at garage sales and thrift stores. For pricier materials such as robotics, I would highly recommend seeking out grant opportunities through organizations such as Donorschoose.
Why Makerspaces?
The purpose of a Makerspace is to tap into as many different interests, passions, and strengths in our students as possible. As educators, we are tasked with the most important job in the world…creating the next generation of problem solvers, innovators, and world changers! Through creative exploration and purposeful play, students become critical thinkers and inventors while collaborating with their peers.
Makerspace Scheduling
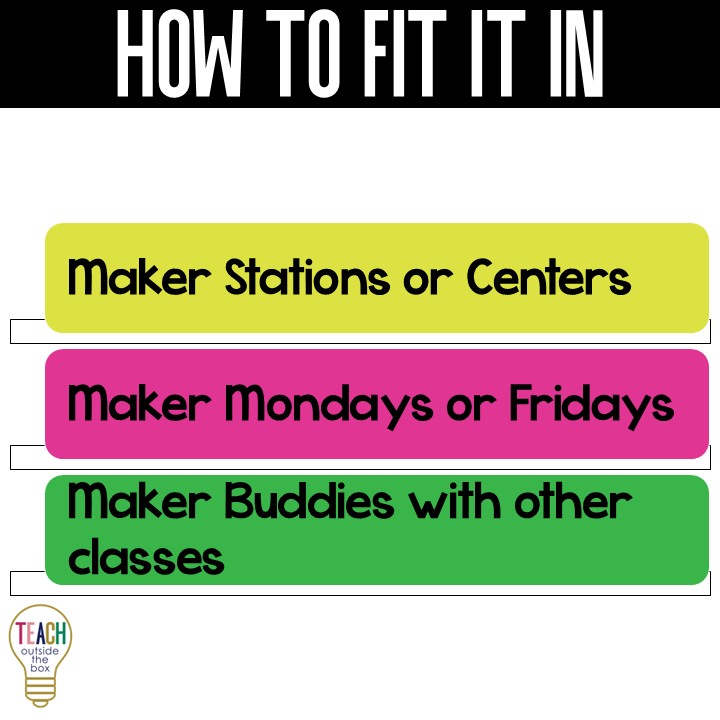
In my Makerspace, full classes of students in Kindergarten, First Grade, and Second Grade visit for 45 minute time blocks on Mondays and Fridays. I send out a Google Doc schedule for classroom teachers to sign up for their preferred time at the beginning of the school year. Here are some other options for fitting Makerspace time into a busy academic schedule:
Maker Stations
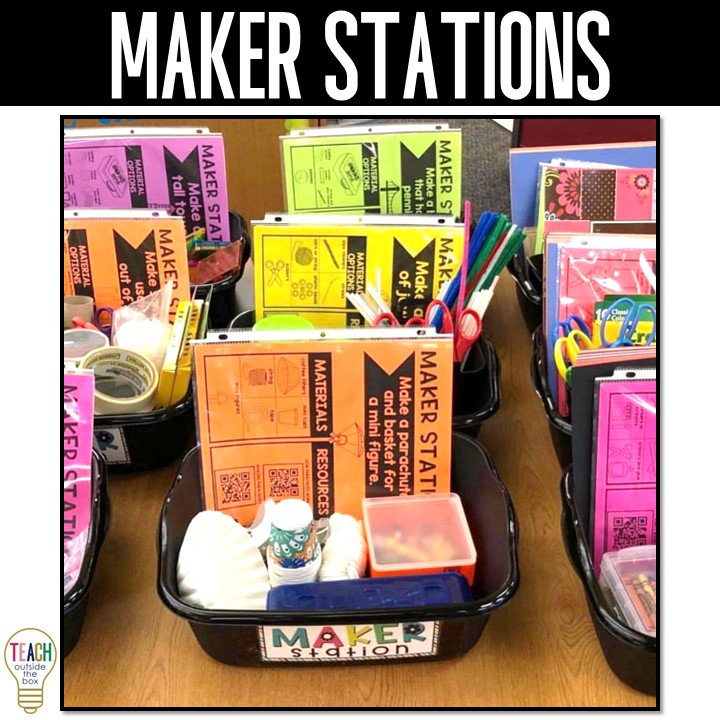
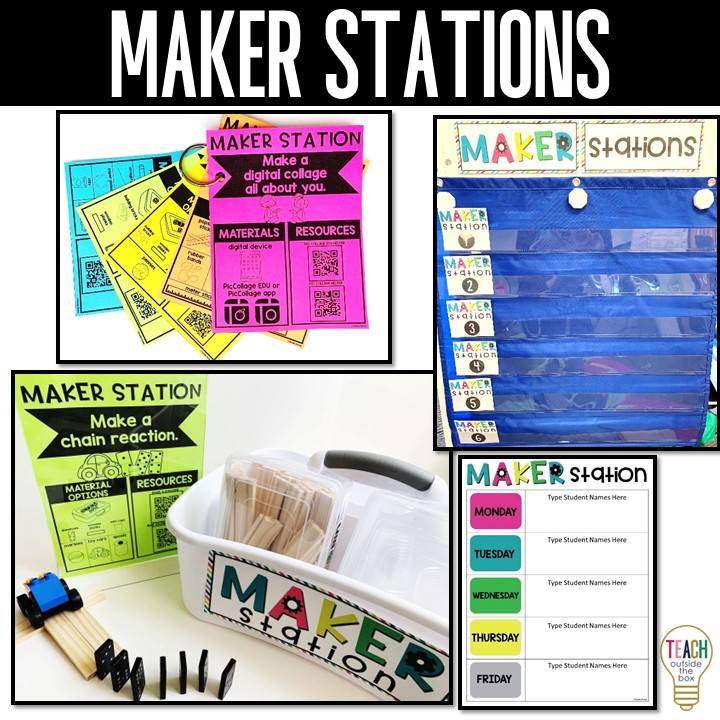
Maker Stations are an ideal choice for classroom teachers and Media Specialists who would like to set up a station or center for small groups of student to rotate through. They are quick and easy to prep and require minimal space…essentially a Makerspace without the Space! I also set up Maker Stations in my Makerspace for more structured activity choices.
Makerspace Choices
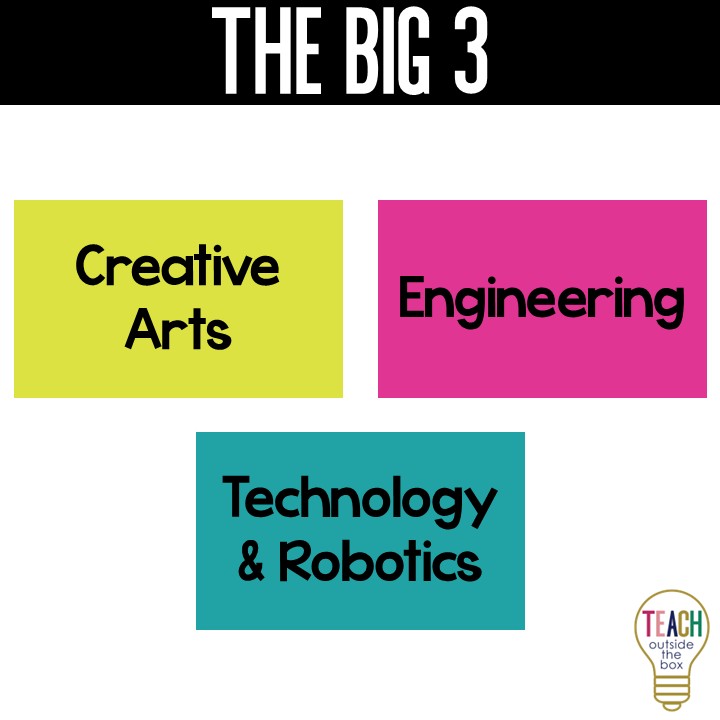
In my Makerspace, students have a choice to play, create, and invent with (1) engineering materials, (2) arts and crafts, or (3) technology/robotics. These choices may be more limited or more advanced depending on the ages and abilities of your students. Creative arts and consumable materials are limited to one grade level of students per month. This helps tremendously to reduce the waste of materials and allows the materials to last much longer throughout the year.
My students favorite engineering materials are our STEM Bins! They are quick and easy for students to create with and clean up, with 16 different choices of building materials. They also include task cards with photos of real world structures to inspire their creations.
Technology & Robotics
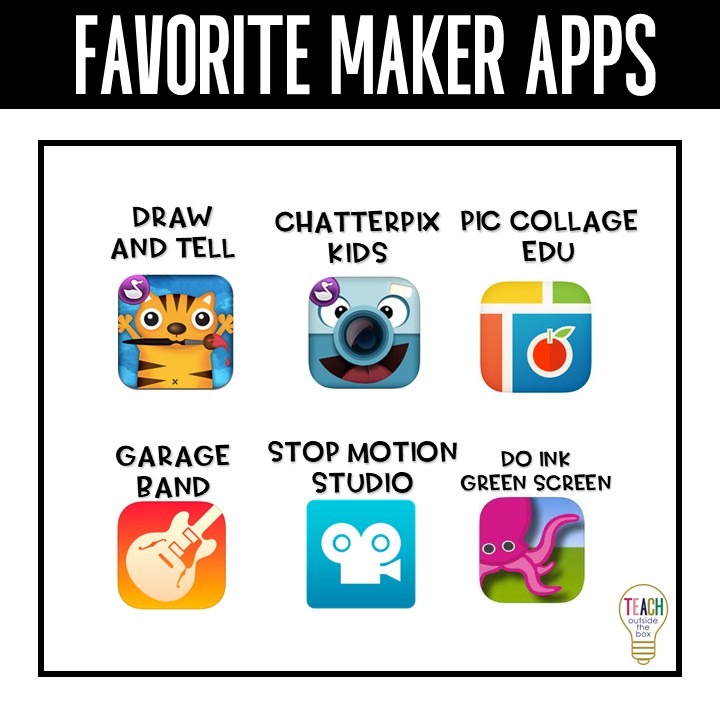
My Makerspace has 6 iPads and a variety of robots for students to share. Here are a few of my favorite creativity apps that I recommend for Makerspace.
Robotics
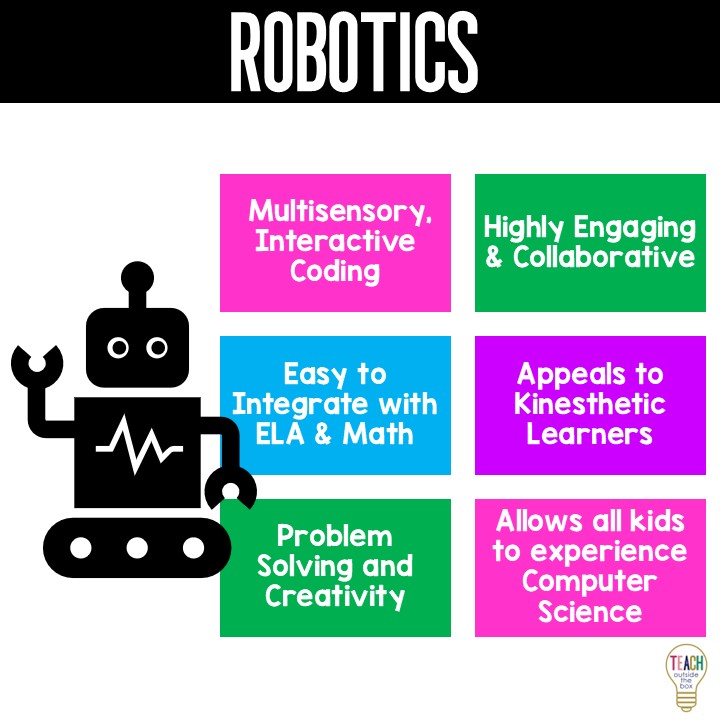
Robotics are an integral part of both my Gifted and Talented classes and our Makerspace. Here are just a few of the many benefits of incorporating coding and robotics in the classroom.
Favorite Robots
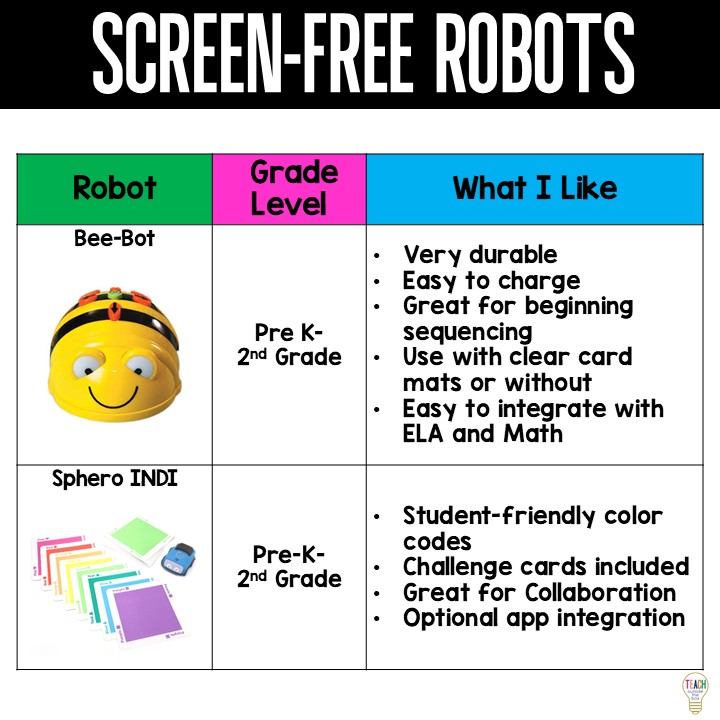
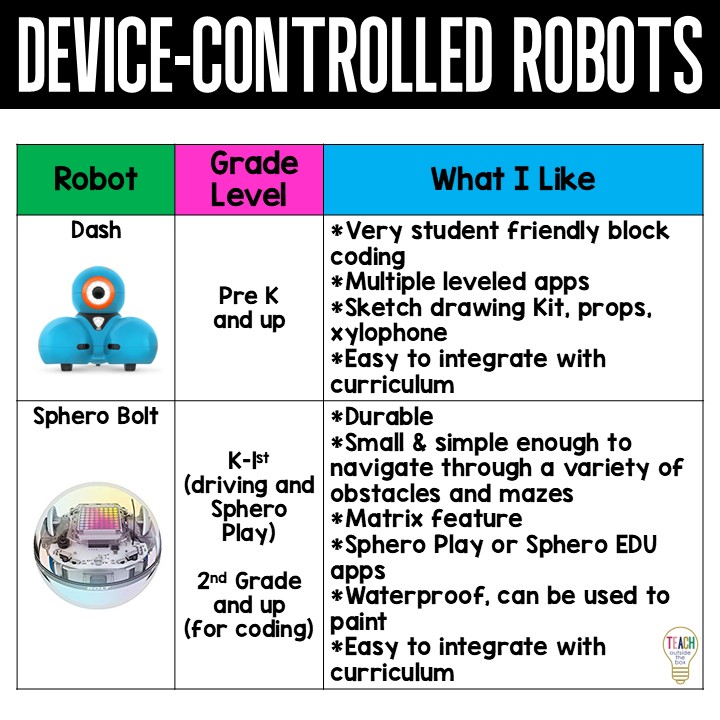
We have a variety of screen-free and device controlled robots in our Makerspace that my students love! Here are some of our favorites:
Makerspace Classroom Management Tips
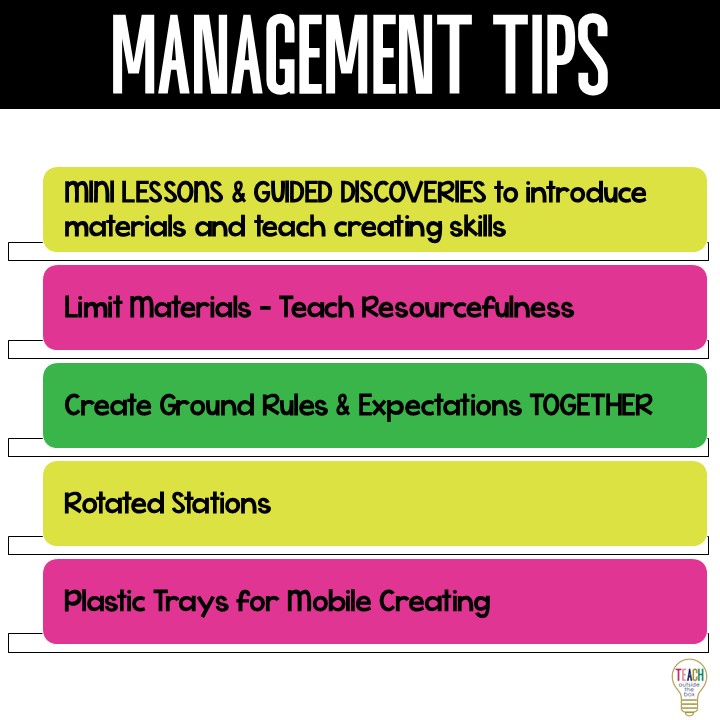
Here are a few of my tips and tricks to help make your Makerspace time run more smoothly with your students. At the beginning of each school year, I have a Makerspace Orientation with each class to discuss and review expectations and procedures.
Thank you so much for letting me share my Makerspace with you! If you want your students to experience the Maker Space, check out “So You Want to Start a Maker Space?” to create your very own!

