


Kiss Your Binders and Hanging Files GOODBYE with Project Cases
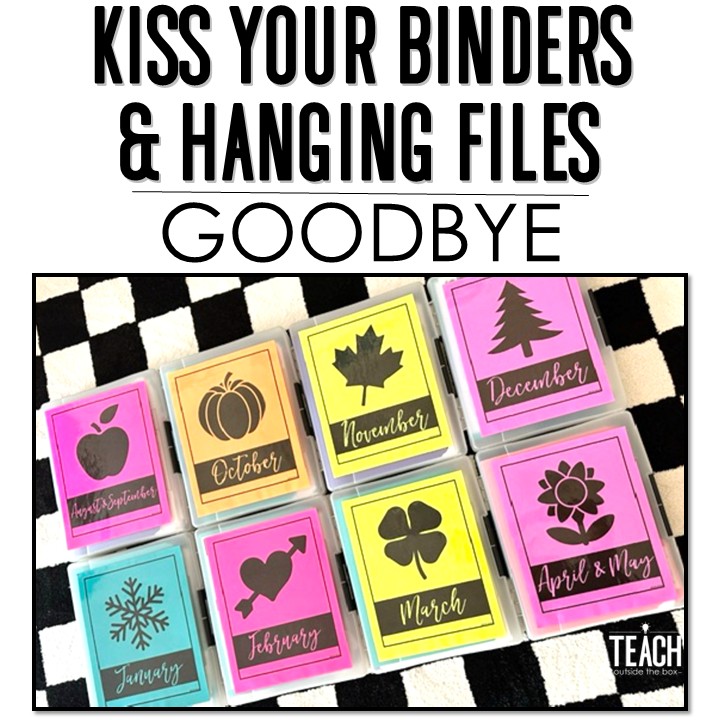
You guys. I’ve officially discovered a classroom organizational game changer! And it only took 11 years of frustration, messy files, and bulky binders! Just take a peek at this before and after transformation!
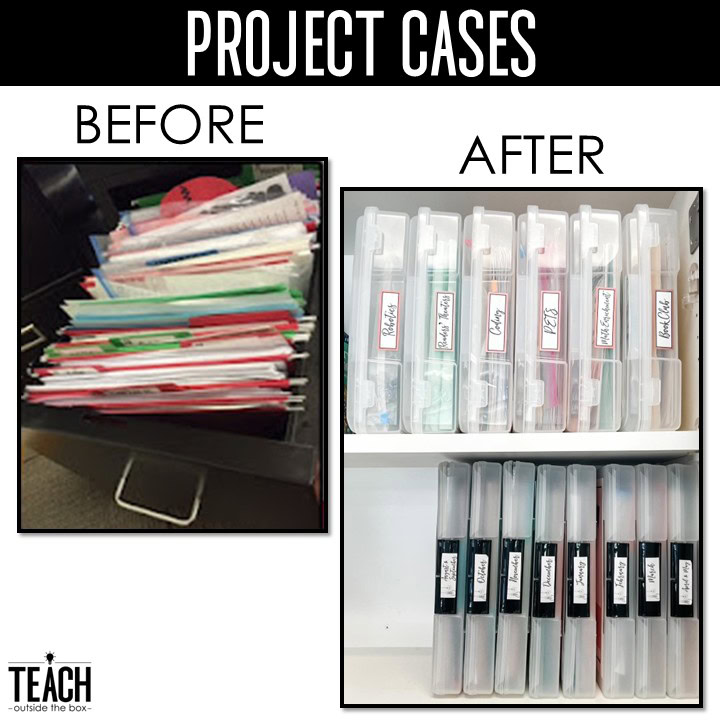
So here are a few reasons why traditional 3-ring binders have NOT worked for me over the years:
1) You have to hole punch master papers to fit inside OR
2) You have to put Every. Single. Paper into a page protector to place inside, meaning you have to take papers out and put them back in the sticky little sleeves every time you want to copy something.
So why not hanging files, you might ask? They’ve practically been around since the age of the dinosaurs! Here’s why NOT:
1) They ALWAYS end up looking like my horrendous “Before” picture above.
2) They’re not big enough for teaching examples, read alouds, task cards, etc.
3) They’re not exactly portable and stuff almost always falls or hangs out. (You know this if you’ve ever tried to stuff some in your teacher bag.)
Project Cases
So, what is the MAGICAL solution? HERE IT IS!
Project Cases or Document Cases! You can find them on Amazon, Walmart.com, Target.com and at select office supply stores. Iris is the brand and style I recommend that is the best value as packs of 6 or 10!
The links below will fit in some filing cabinets or stack on a shelf (make sure to measure yours first!)
If you don’t need the full set, I’m sure you might find a teacher friend who’d be willing to split the set with you.
***The exact style shown with the black latches has been discontinued, but I have sets of the following updated styles in my classroom that I love just as much!***
Here’s why project cases are AMAZING and I’ll never go back to binders and files:
1) You can fit standard, individual files inside for specific subjects/classes.
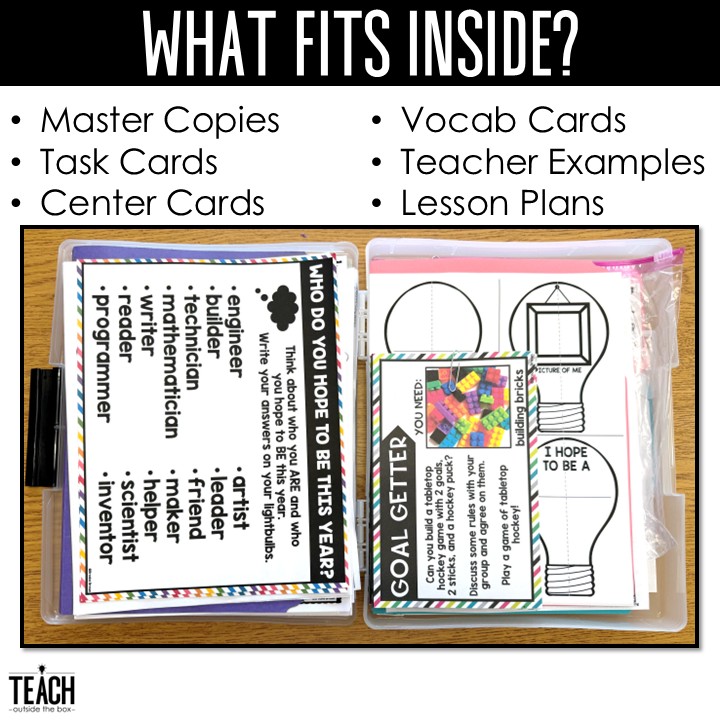
2) They hold A LOT more than paper.
3) They’re sturdy! Mine have been going strong for over TEN YEARS now!
4) They’re portable. (Mine have little handle slots to carry.)
5) You can fit them into EITHER a file cabinet if you take out the metal tracks OR shelve them like binders.
6) Your papers fit inside snugly and won’t slide down or get squashed.
7) NO page protectors or hole punching!
What Fits Inside?
Check out all the things that you can fit in your project cases:

How to Organize
Here’s what you need if you’d like to put some together:
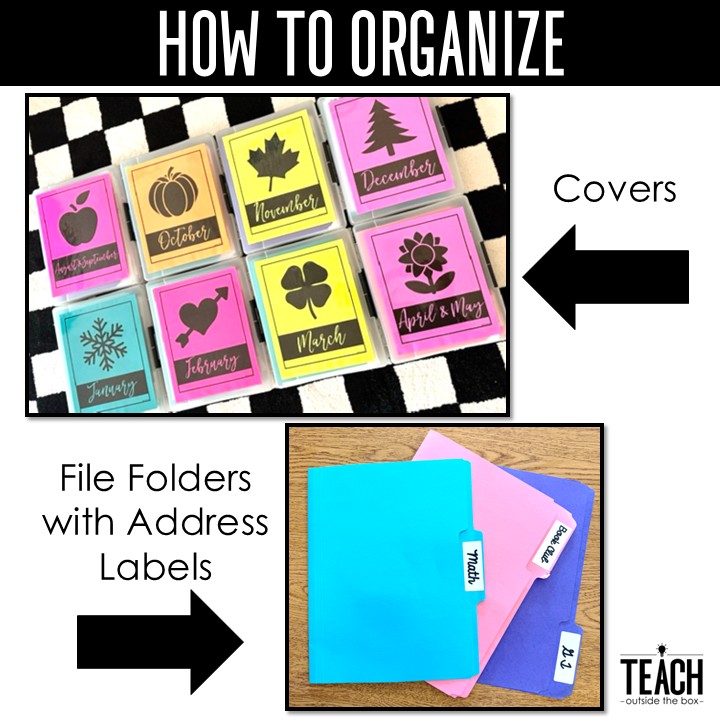
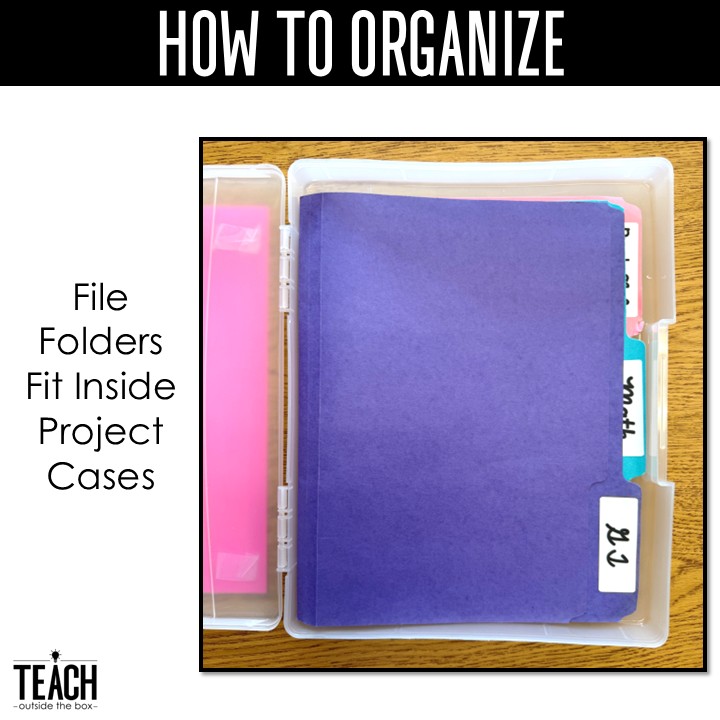
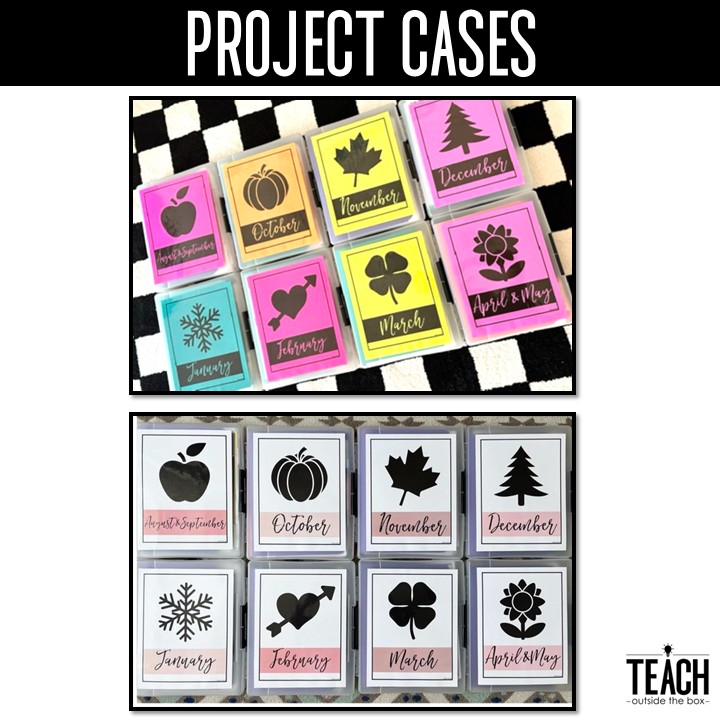
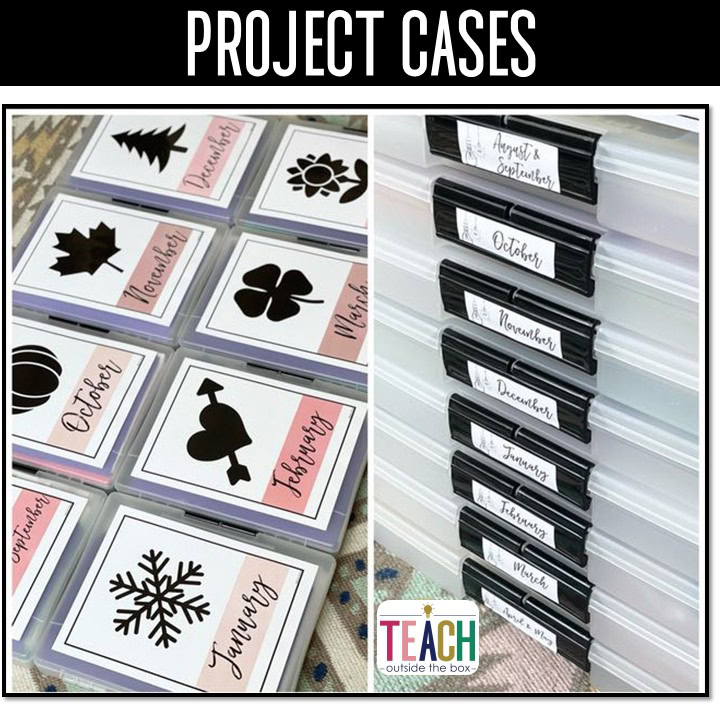
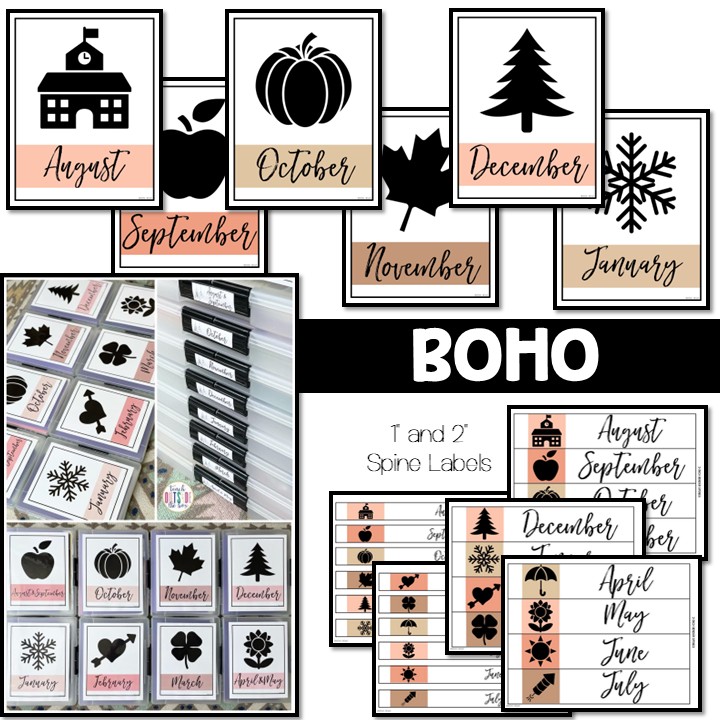
After customizing your binder covers with the subjects you’d like, print them onto card stock. You might choose to use one box per month, one per subject, or one per theme. Then, you can either laminate and tape the covers onto the front of the boxes OR stick on with clear contact paper.
You’ll also want to print address labels, some to stick on the spines of your boxes, and some to stick on the individual file folders inside. I have my folders organized by color and the different classes I teach.
You can choose to put the spine labels on whatever edge you’d like.
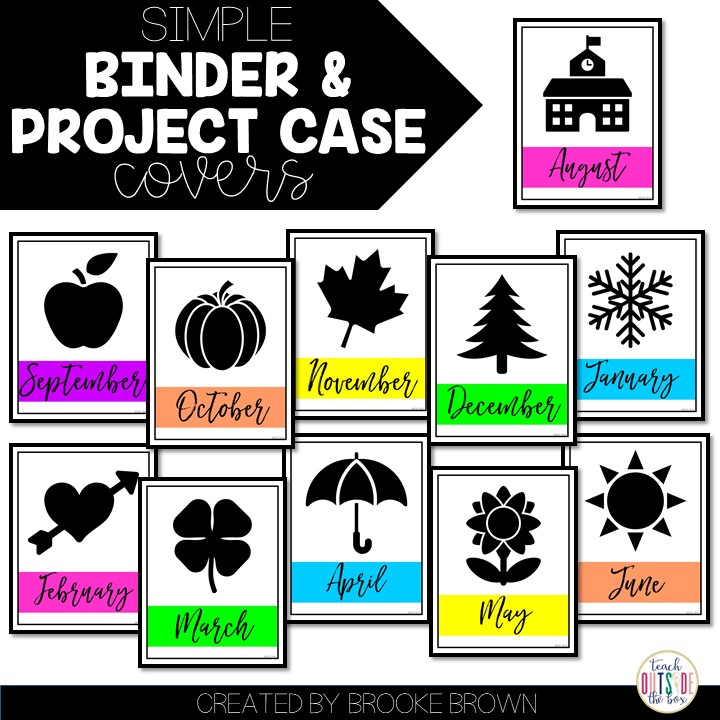
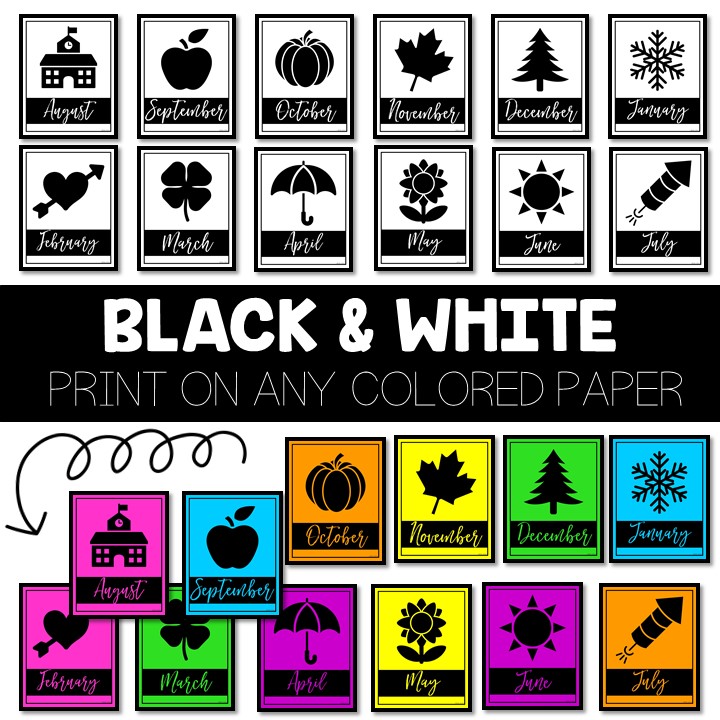
Check out my Simple Monthly Project Case Covers in a variety of color schemes below:
***This post contains affiliate links . By purchasing an item on these sites using these links, I will receive a small commission on your purchase.***
If you’re curious for more aesthetically pleasing and practical ways to keep your space organized, I have more tactics I show on “5 Tools for Classroom Organization“!