

So You Want to Start an Elementary Makerspace?
See the full list of my favorite makerspace supplies
My most frequently asked question in emails and blog posts is how to start, schedule, and manage an elementary Makerspace. I had a Maker area for K-2nd Grade in my classroom for years, and then my room served as a full blown Makerspace for two days per week, serving close to 300 early childhood students. (Our sweet full-day Pre-K babies join our Makerspace time too!) I’ve learned A LOT about how to organize, manage, and schedule effectively, what to do, and what not to do. I’m also always seeking out new strategies and experimenting with new materials to make our space and time as engaging as possible, which means this post gets updated with new materials, tips and tricks. So whether you’re a classroom teacher, media specialist, STEM teacher, or specialty teacher, I hope the following suggestions can help you get your Makerspace rocking and rolling!
My Makerspace served close to 300 Pre-K through 2nd grade students two days a week, and starting one comes down to 5 steps: space, stuff, schedule, structure, and self-direction.
What Is a Makerspace?
A makerspace (or maker space) is a spot in your school or classroom where students use arts and crafts supplies, engineering materials and technology to tinker, build and invent through purposeful play. Mine started as a small Maker area in my K–2 classroom!


If you’ve been following me for awhile, you know that I’m BIG on purposeful play, hands-on learning, and the engineering design process that accompanies STEM challenges. A Makerspace supports and nurtures all of these philosophies and promotes exactly the type of creativity and growth mindset that are so critical for our students. Whether you choose to structure your Makerspace as more open-ended or more teacher-guided, student choice is key as their multiple intelligences are nurtured and new passions are discovered.
There are FIVE key areas to keep in mind as you envision your Makerspace.
This post has a section for each of these five main areas, so feel free to scroll to the section that best applies to you!

The five Ss
1. Space
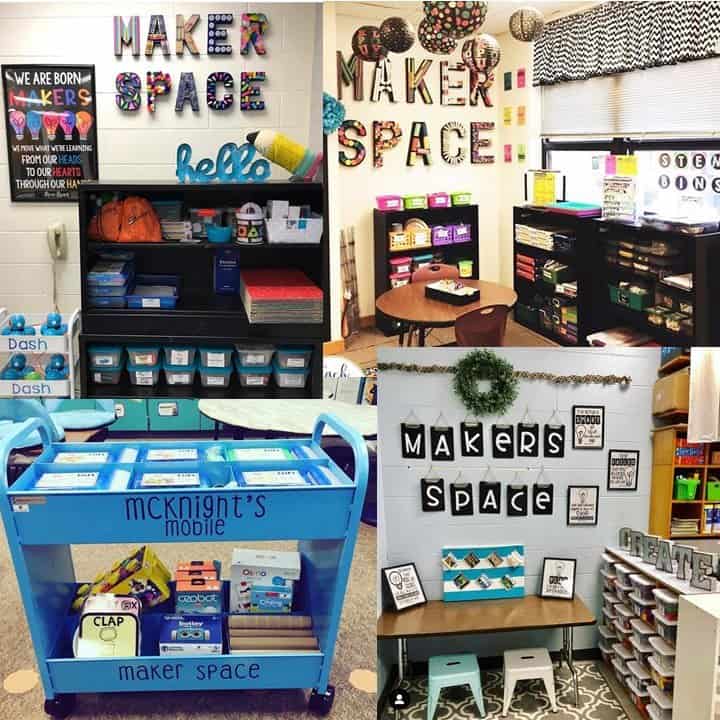
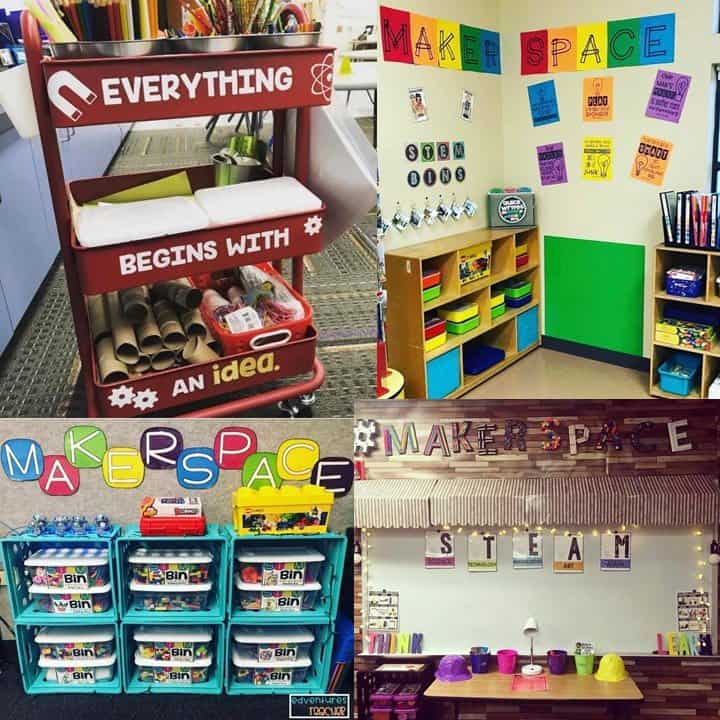
When you consider a space for making, you have to work with any place you might have available. It’s what teachers do best, am I right?! Some of you may be blessed with an entire room, while others may have a section of a room, closet, or even a small shelf, cabinet, or cart. Keep in mind that student access is of optimal importance, so it needs to be somewhere where they can easily move in and out. Keep plastic trays near the materials so that students can easily bring creation materials to the floor or other tables in the room.
Here are some examples of some amazing options for Makerspaces from Instagram. Check the captions for some awesome teachers to follow!
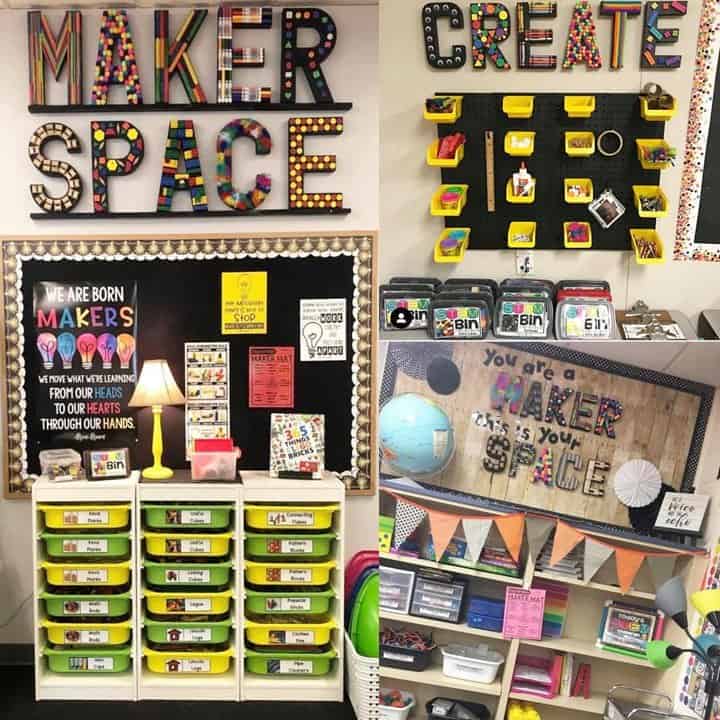
I know that it can be a bit overwhelming to walk into a fully stocked Makerspace that has been up and running for awhile. I often have visitors at my school, and I always make a point to emphasize that it takes a LOT of time and patience to fully equip a full Makerspace. Case in point:

Many of the materials you see above were left over from my years of teaching in the general education classroom. Many of them were also scraped out of the back of cabinets and even my home pantry. After LOTS of grant-writing, scavenging, collecting, and utilizing funds from PTA, district, and state, here’s how my Makerspace grew:
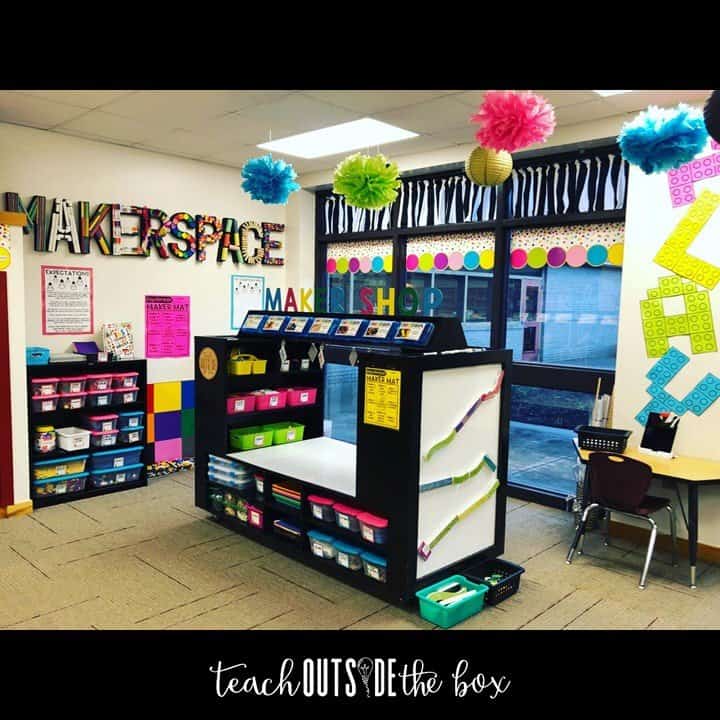
The Maker Shop furniture piece and play table in the center has become our favorite part of our Makerspace! It has interactive panels on the sides, consumable arts and crafts materials on the interior shelves, engineering materials on the lower shelves, and STEM Bins® along the top. My amazing husband built it for us.

Ellie and I created these jumbo Makerspace letters together. They are paper mache letters from Hobby Lobby that we painted black, and we hot glued a variety of Makerspace materials to the surface.
The left shelf contains a variety of math manipulatives as well as LEGO, LEGO Baseplates, and Alpha Briks on the top, and the right shelf contains a variety of engineering materials and robotics.
The posters above the shelves are specific to our Makerspace expectations for our school. On the right poster, I add new apps, mini lessons, and project ideas for the students throughout the year.
The LEGO Wall in the center has baseplates that we hot glued to a piece of plywood, and Andy added a silver frame before we drilled it into the wall. I printed the Maker Mat above it poster sized and switch it out each month with different creation ideas. Some of the items on the right shelf that we love are Snap Circuit Jr., Botley the Robot, Gears, Code and Go Mouse, KEVA Bot Mazes, and Sumblox,
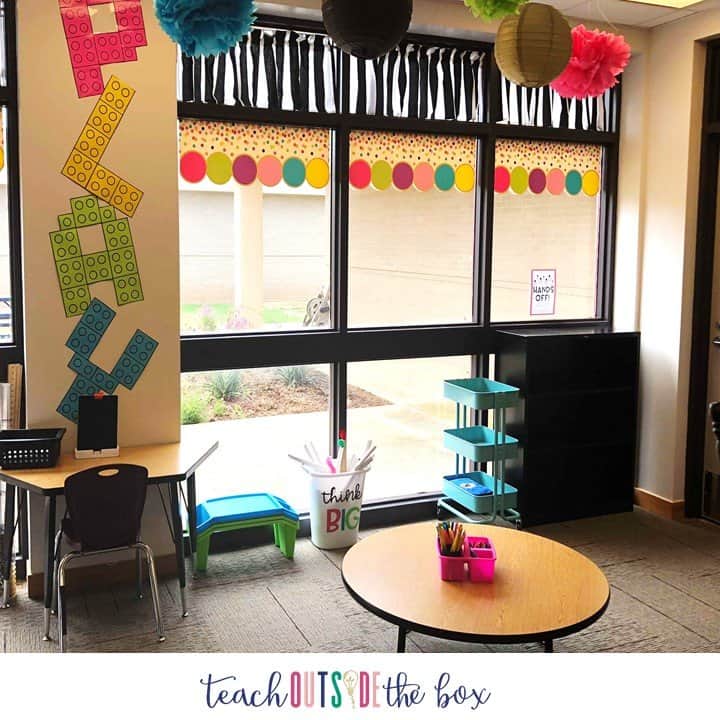
This is a view of the right side of our Makerspace. I made the giant “PLAY” letters using building brick clip art from Photoclipz. I enlarged the bricks in PowerPoint, printed on Astrobrights paper, and taped them together to make letters. The small table on the left is our Osmo station. The lap trays on the right are from Target Dollar spot and the “Think Big” tub is filed with cardboard rocket tubes and jumbo pipe cleaners for big engineering. The turquoise cart and and black shelf house STEM materials and projects that are still in progress.
A Makerspace in Your Classroom
No dedicated room? No problem! I had a Maker area in my own K–2 classroom for years before we ever had a full Makerspace. Here are three simple ways to start small:
- One table. Pick a table or a corner and set out one station or challenge each week. It’s easy prep, and it gives students something fresh to look forward to.
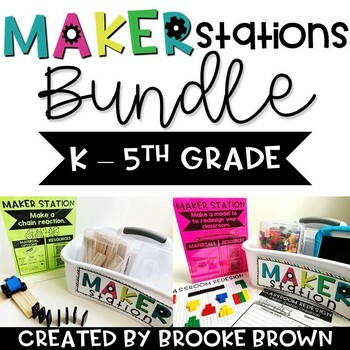
- A rolling cart. A cart or a large utility caddy holds your supplies and goes wherever your students are working. My Maker Stations are made to fit inside a caddy, with a supply list and instructions for each station.
- Bins on a shelf. STEM Bins® on an easy-to-reach shelf give students one building material and a ring of task cards in each bin. They grab one, build at their seats, and put it back.
Keep plastic trays near the materials so students can carry them to the floor or another table. Need a supply list? Here are my favorite Makerspace must-haves. For more small-space ideas, check out Makerspace Without the Space.
2. Stuff
To invent, you need a good imagination, and a pile of junk.
Thomas Edison
There are three main categories of materials that I recommend for a Makerspace:

More specifically, here are suggestions for materials within each category AND where to find them. I HIGHLY recommend Donorschoose if you’re interested in writing an easy grant! Check out my list of all my favorites:


That last point – Start small and build over time – is very important to keep in mind! A room full of “stuff” does not guarantee engagement. I have absolutely loved growing our Makerspace right along with my students over the years, and I get just as excited as they do when we have a new robot or engineering material to explore together. We’ve also learned a lot – through practice and discussion – about being resourceful with consumables and reusing materials whenever possible.

Here are some options for Arts and Crafts materials. Many are consumable, which is why I limit these sections to only ONE grade level per month in order to conserve supplies. During our first year of Makerspace, I figured out very quickly that they would be gone within a week if all grade levels used them. I do allow them to bring their arts and crafts creations home as long as they’re not being wasteful with supplies.
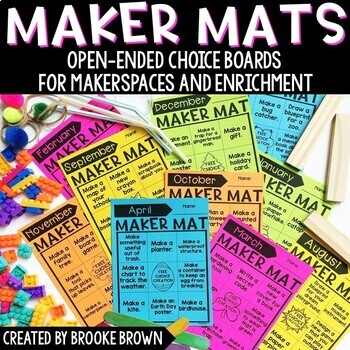
Students use our monthly Maker Mats for creation ideas:

The pack above also includes a variety of blueprint options for students to document their creations, as well as a parent supply request letter.

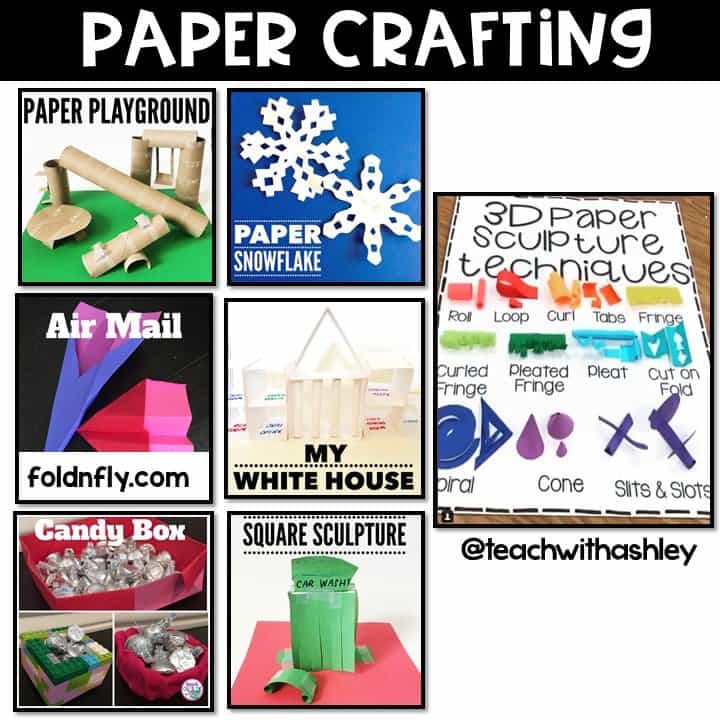
One of my students’ favorite creative materials is paper! Best of all, it’s readily available and easy to reuse. Here are just a few ideas. The chart shown is from my friend, Ashley’s, Makerspace (@teachingwithashley on Instagram).
Engineering is the second “big area” of a Makerspace (and also happens to be my personal favorite!) My STEM Bins® are one of the easiest, space-saving ways to get creative engineering materials into your kids’ hands. We use them for everything, from early finishers to STEM challenges to Makerspace time. They also include task cards for creation ideas and blackline masters for student recording sheets.
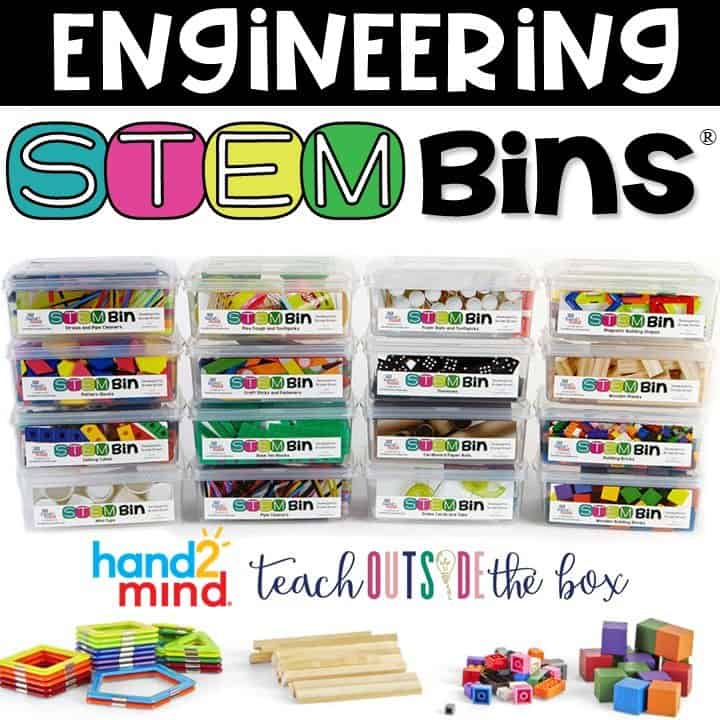

These are part of the STEM Bins® MEGA BUNDLE on TPT, which puts all 15 together in one download.
Here are some more of our favorite go-to engineering materials:

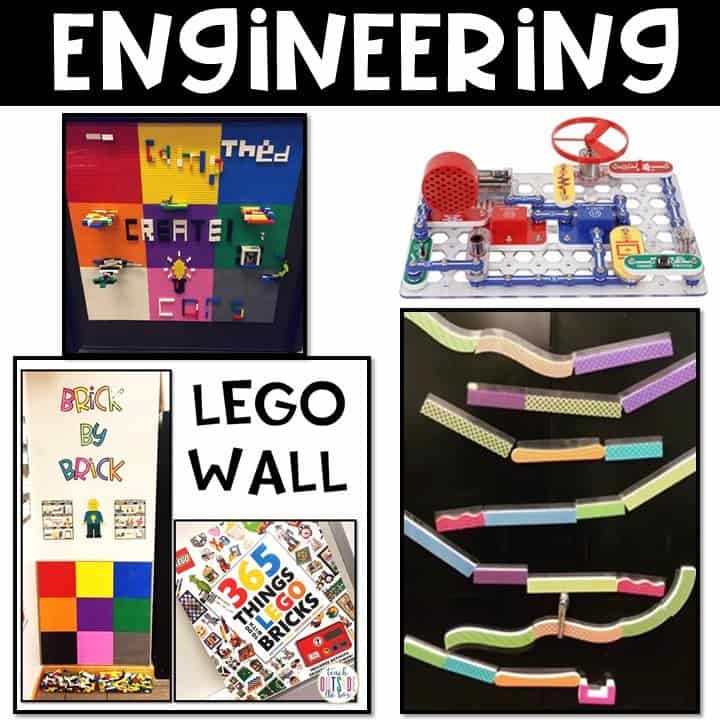
Here are a few more engineering areas in our classroom. The magnetic roller coaster and LEGO wall are big favorites! Snap circuits are also perfect for teaching beginning electrical engineering.
Here are some of the technology and robotics options in our Makerspace. I store these on the counter tops underneath my cabinets because we have plenty of outlets on that side. We have a set of iPad minis for my students to share.


We LOVE coding with apps, unplugged coding, and robotics and my students have lots of options to choose from during Makerspace:


Check out the blog post below for information ALL about Robotics!
Also, check out my Bot Basics for simple Robotics challenges to set up in your Makerspace.
Green Screens are an excellent resource for movie-making and student presentations. You can create an inexpensive Green Screen backdrop for the characters using a green plastic table cloth, green fabric, or even an empty pizza box with green construction paper taped inside. The Do Ink app is very kid-friendly and Anita Goodwin on TPT has an AMAZING bundle of themed resources that make Green Screen movies a snap!
We also love creating Stop Motion videos with Stik Bot robots using the Stik Bot Studio app.

3. Schedule
Alright, so you’ve hopefully got a space, and you’ve gathered some stuff! Now what?! Let’s talk about fitting Makerspace into your already very busy schedule. There are three ways that I recommend squeezing it in:

In our Makerspace, each class visits for 45 minutes per week and chooses from a set of activities. In between sessions, I teach new skills, design challenges, apps, and robotics that students can extend and practice during their Makerspace time. Here is our current schedule:

Here are a few other scheduling options you might consider. Perhaps you might keep only one area open per day, or you might rotate small groups and keep one group with you for a specific skill or app. If you have only a small group of students in Makerspace each day, you might have specific choices or materials available to them.

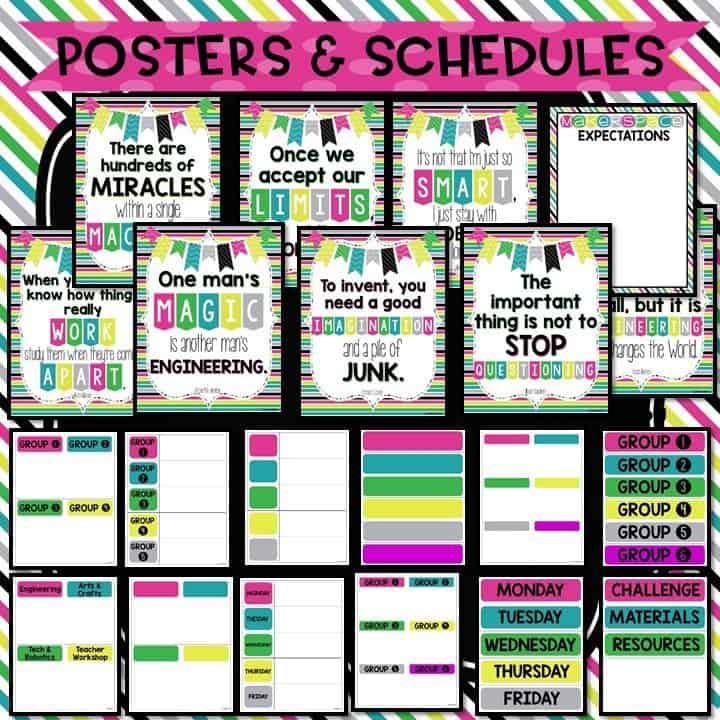
All of the scheduling charts shown above and more are found in my Makerspace Starter Kit. They’re also EDITABLE to best suit your needs!
4. Structure
To begin the year with Makerspace, I hold 30 minute orientation sessions with each class that visits. During this time, we review procedures and expectations, go over material options, and discuss key “Dos” and “Don’ts.” I use this PowerPoint to guide our discussion. (Expectations Poster found here.) I will say that now that we’re in the SECOND year of Makerspace instead of the first, this process is much easier and our space stays much cleaner than in the beginning. Students view their Makerspace time as a privilege (as they should!) and teachers will hold them accountable for their behavior in order to visit.
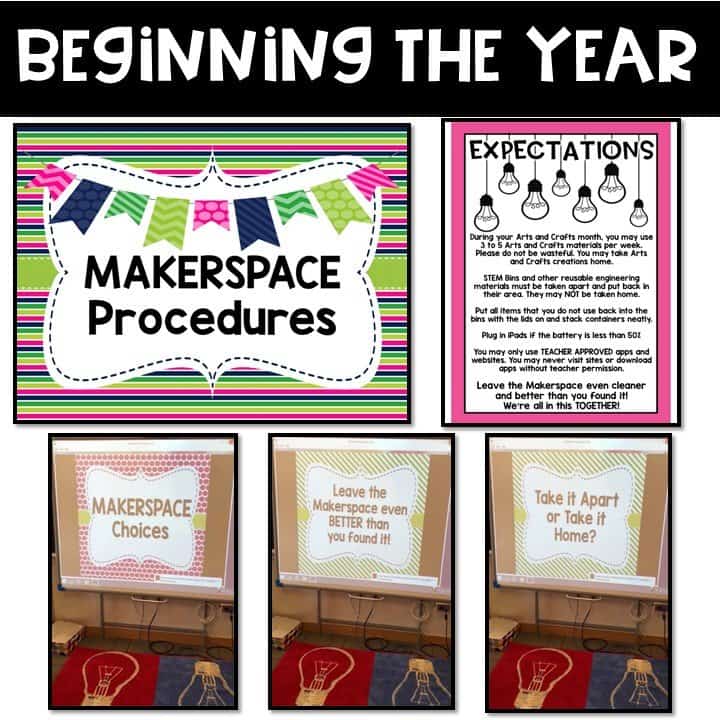
Here are a few simple management tips to keep in mind to keep things running smoothly:

Makerspace time can be structured in a variety of ways, from open-ended explorations to simple design challenges to skill workshops. Whenever I receive new materials, here is the structure that I prefer:
- Introduce and Explore (student-driven)
- Teacher Guided Challenge (teacher-driven)
- Makerspace Extension (student-driven)
For example, I might have an exploratory session with Dash robots, then a series of Bot Basics challenges before opening them up during Makerspace. Because the element of student choice is important, all sessions should not be teacher-guided and students should be given ample time to choose activities that cater to their interests and learning styles. This is also an ideal opportunity for kids to collaborate and teach one another new skills.
5. Self-direction
The case for student-driven learning and purposeful play in Makerspace cannot be overemphasized. Consider the fact that every great idea, new app, or innovative invention started out with someone, somewhere, playing around with a bunch of “stuff!” The element of student ownership in a Makerspace is paramount as they grow in their problem solving and collaborative skills. Here is a simple organizational method to allow that choice within a set of parameters that you, as the teacher, can decide:
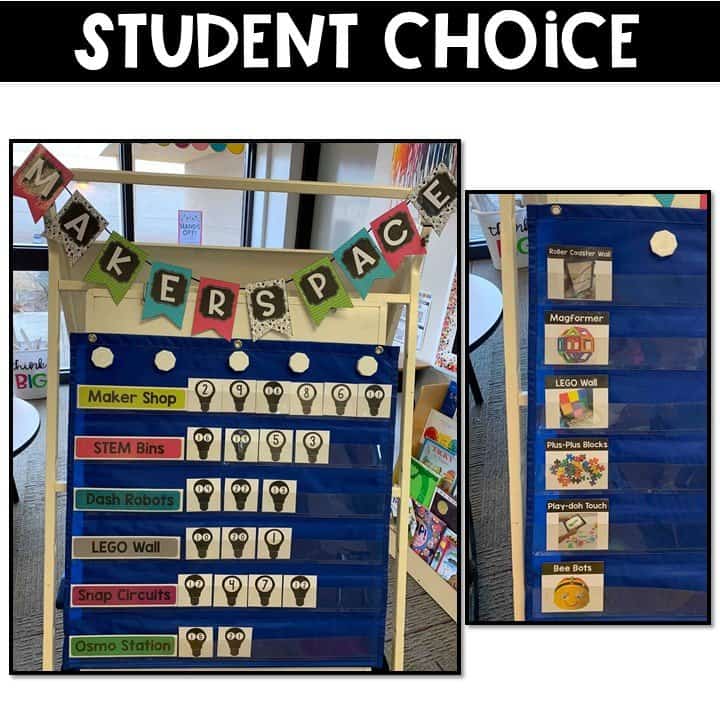
The Makerspace choices are outlined by the teacher on the left side of the chart (photo cards are used for the littles.) Student numbers (or names) are randomly drawn out of a baggie and students may put it in the chart next to their first activity. Some activities may have a limited number of spots, for example, I only had 3 Pre-K students at a time with me at the Bee Bot station. They also have an expectation that they must clean up at their current activity before moving to a new one. This system promotes fairness because names /numbers are drawn randomly and the same students don’t get the same first choices each time. This also encourages students to branch out and try new activities if there aren’t spots left at their first choice.
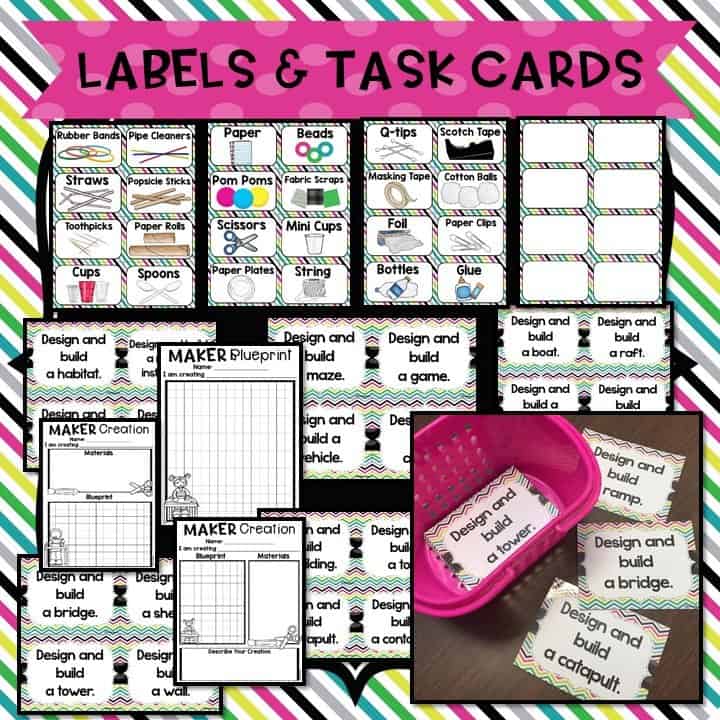
So…are you ready to start a Makerspace?! I certainly hope the answer is a big, enthusiastic YES and I hope this post makes it a little easier! To save you some time, check out my Makerspace Starter Kit with schedules, challenge cards, posters, and more!
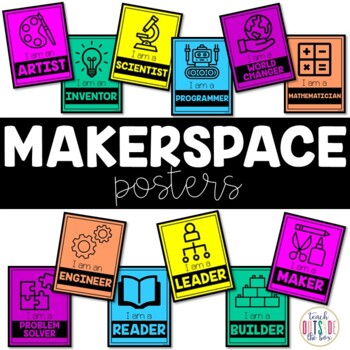
Want the whole makerspace set? The Makerspace MEGA BUNDLE on TPT has the Starter Kit, Maker Mats, Maker Stations and posters in one download.
These Makerspace Tools are absolute must-haves in my classroom–they’re game-changers when it comes to getting my students excited to engage in STEM! And the best part? You can create a makerspace anywhere, no matter the size of your classroom! If you’re wondering how to make it work in your space, check out my tips in “Makerspace Without the Space”-It’s all about making STEM accessible, flexible, and fun!
Makerspace FAQ
What is a makerspace in an elementary school?
A makerspace is a place where students use arts and crafts supplies, engineering materials and technology to build, tinker and invent. In an elementary school, it can be a full room, part of a classroom, a shelf or even a rolling cart, as long as students can easily get to the materials.
How do I start a makerspace in my classroom?
Start small with one table, a rolling cart or a few bins on a shelf, then add materials over time. A room full of “stuff” doesn’t guarantee engagement, so I grow our space right along with my students and add new materials a little at a time.
What supplies do I need for a makerspace?
I sort makerspace supplies into three main areas: arts and crafts, engineering, and technology and robotics. Paper, building materials and STEM Bins® are easy places to start, my Makerspace must-haves page lists all my favorites, and DonorsChoose is a great way to fund the rest.
How often should students visit the makerspace?
In our Makerspace, each class visits for 45 minutes a week and chooses from a set of activities. If you’re short on time, you can keep one area open per day or rotate small groups, and my Makerspace Starter Kit has editable schedules to help.
More Makerspace Resources on TPT
The schedules, posters, Maker Mats and stations I use to run our Makerspace are all on TPT. Click one to see it on TPT!

This post contains affiliate links. If you buy through them, Teach Outside the Box earns a small commission at no cost to you.